Trimming your cat's nails can be a daunting task, but it's an essential part of their grooming routine. Proper nail care ensures your cat's comfort and prevents potential health issues. In this comprehensive guide, we'll walk you through the process of safely trimming your cat's nails, from understanding the importance of nail care to practical techniques and expert insights.
Safely Trimming Your Cat's Nails
Cats use their sharp nails for various activities, including climbing, scratching, and hunting. However, nails that become too long can lead to discomfort and even health issues. Regular nail trimming not only prevents painful conditions but also fosters a closer bond between you and your feline companion.
Why Nail Trimming Matters
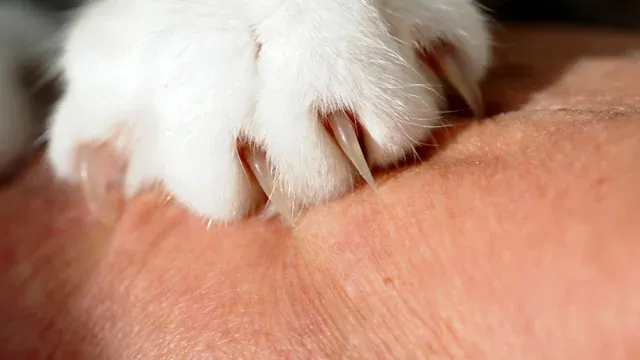
Nail overgrowth can cause your cat's nails to curl into their paw pads, leading to pain and potential infection. Long nails also increase the likelihood of unintentional scratches, which can be particularly concerning if you have children or other pets at home. Regular trimming promotes healthier paws and reduces the risk of scratches.
Creating a Positive Association
Before diving into the trimming process, help your cat associate positive experiences with nail care. Start by gently touching their paws and nails regularly, followed by treats and praise. This conditioning will ease their anxiety and make the actual trimming smoother.
Essential Tools for the Job
Gather the necessary tools, including cat-specific nail clippers, styptic powder (in case of bleeding), and treats for rewards. Using cat-friendly tools ensures a more comfortable experience for both you and your feline friend.
Step-by-Step Nail Trimming Process
- Find the Right Moment: Choose a time when your cat is relaxed and calm. Avoid trimming immediately after meals or play sessions.
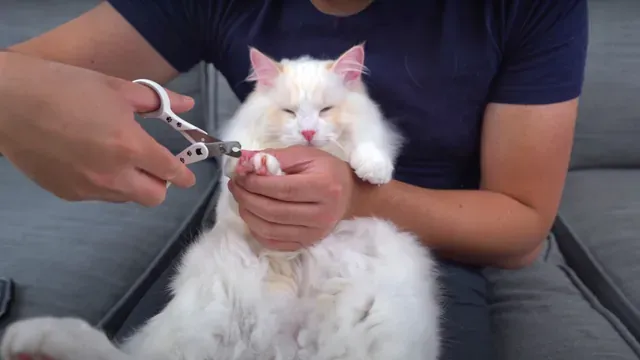
- Get in Position: Place your cat on a secure surface, like your lap or a non-slip table. Gently hold their paw and extend the nails by applying slight pressure to the pad.
- Clip with Care: Trim the sharp tip of the nail, avoiding the pinkish area called the quick. Cutting the quick can be painful and cause bleeding. If you're unsure about the quick's location, trim a small amount at a time.
- Reward and Repeat: Offer treats and praise after each successful nail trimming session. Gradually increase the number of nails you trim in each session as your cat gets more comfortable.
Addressing Concerns and Difficulties
Fearful Cats: If your cat is anxious, consider breaking the process into multiple shorter sessions.
Bleeding: If you accidentally cut the quick and bleeding occurs, use styptic powder to stop it. It's always a good idea to have it on hand before you start.
Frequently Asked Questions (FAQs)
How often should I trim my cat's nails?
Regularly trim your cat's nails every 2-4 weeks, depending on their activity level.
Can I use human nail clippers?
It's best to use cat-specific nail clippers, as they are designed to handle the shape and thickness of feline nails.
What if my cat refuses to cooperate during nail trimming?
Patience is key. Gradually introduce them to the process, and consult a professional if needed.
Are there alternatives to trimming?
Providing scratching posts and pads can help naturally wear down your cat's nails.
My cat's nails are black. How do I avoid cutting the quick?
In the case of dark nails, trim small amounts at a time and look for the pinkish area or seek guidance from a veterinarian.
What if my cat only scratches me and not furniture?
Scratching is a natural behavior. Regular trimming will help prevent
unintentional scratches.
Conclusion
Safely trimming your cat's nails doesn't have to be a stressful experience. By understanding the importance of nail care, using the right techniques, and creating positive associations, you can make nail trimming a routine that benefits both you and your feline companion. Remember, patience and consistency are key to building trust and ensuring a successful nail trimming journey.


